A Blog (contraction of ‘weblog’) is a type of website which includes entries of commentary, events, instructions, pictures, videos. Entries are typically displayed in reverse chronological order. Blog can also be a verb, meaning to maintain or add content to a blog.
Add Blog to Web Site Page
Place cursor where you want to place the blog application on your site.
In the palette on the left side of the editor, drag the Blog icon on top of the place you want the blog to appear in the editor screen.
Blog Properties
Click on Blog within web site page.
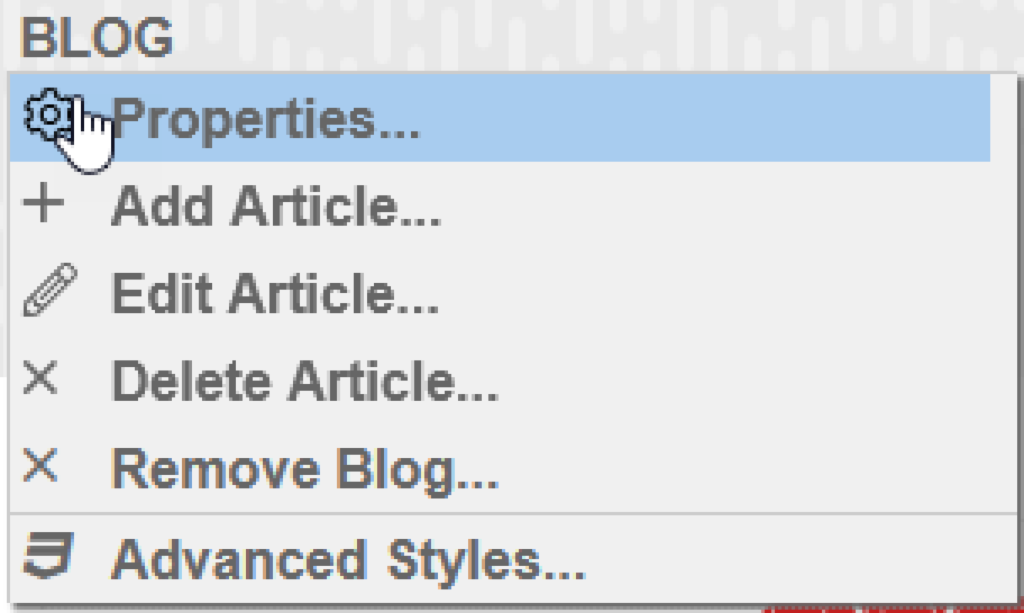
Roll mouse over BLOG in the menu bar.
Select Properties.
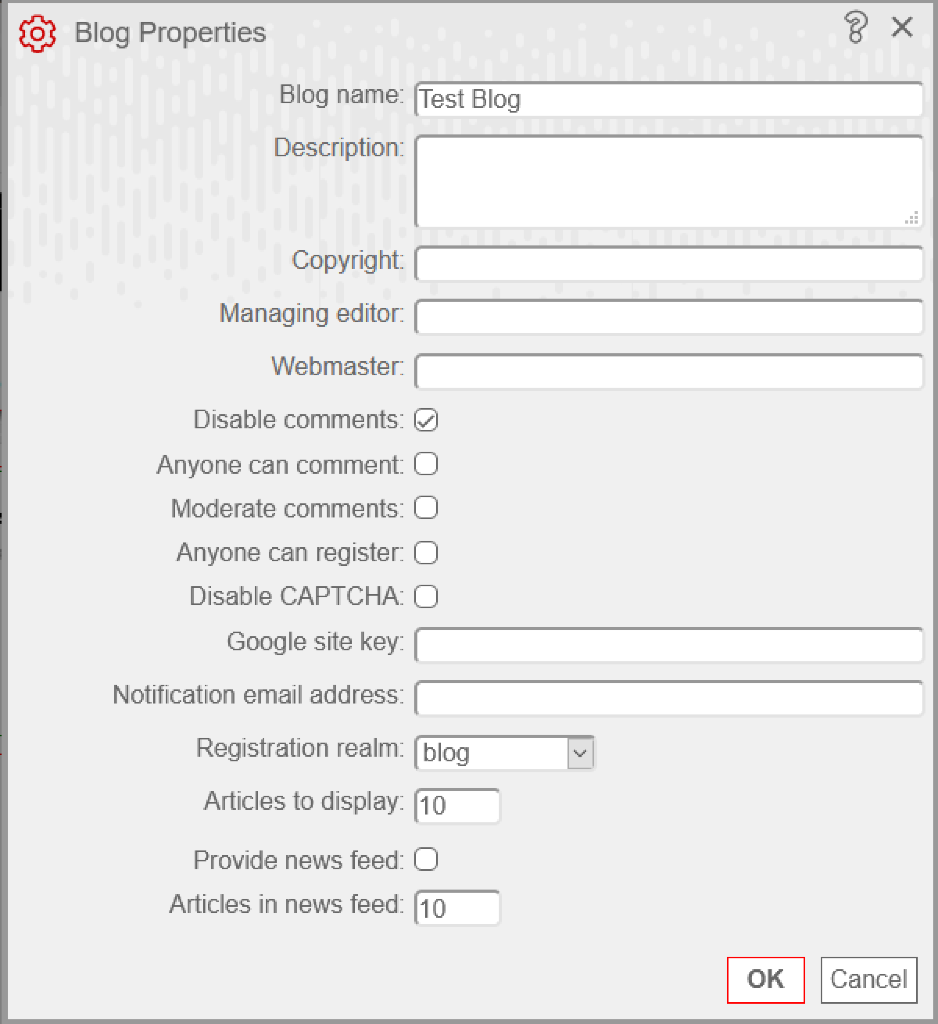
Blog Properties dialog box will appear to define the properties of Blog:
Name: Enter the name of the Blog
Description: Type a detailed description of the blog.
Copyright: Type in the copyright information
Managing Editor: Type in the email address for the Managing Editor.
Webmaster: Type in the email address for the Webmaster.
Anyone can comment: check this box if any person can make comments.
Moderate comment: check this box to have all comments approved before being added to blog.
Anyone can register: check this box means any person may register for the blog.
Disable Captcha: check this box if you wish to NOT have Captcha displayed.
Notification email address: email address blog comments and notices will be emailed.
Registration Realm: Must set-up password-word protected realm (see Authentication Manager section within Guide).
Provide News Feed: check this box to provide a news feed feature.
Articles in News Feed: type in the number of news feeds available at any given time. Typically 10 to 20.
Click OK.
Add Blog Article
Click on Blog within web site page.
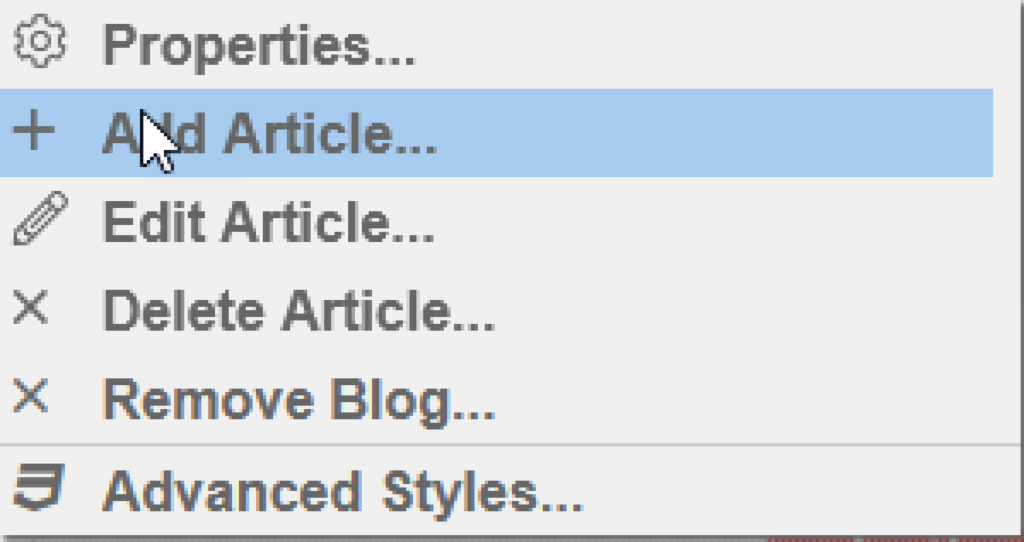
Roll mouse over Blog.
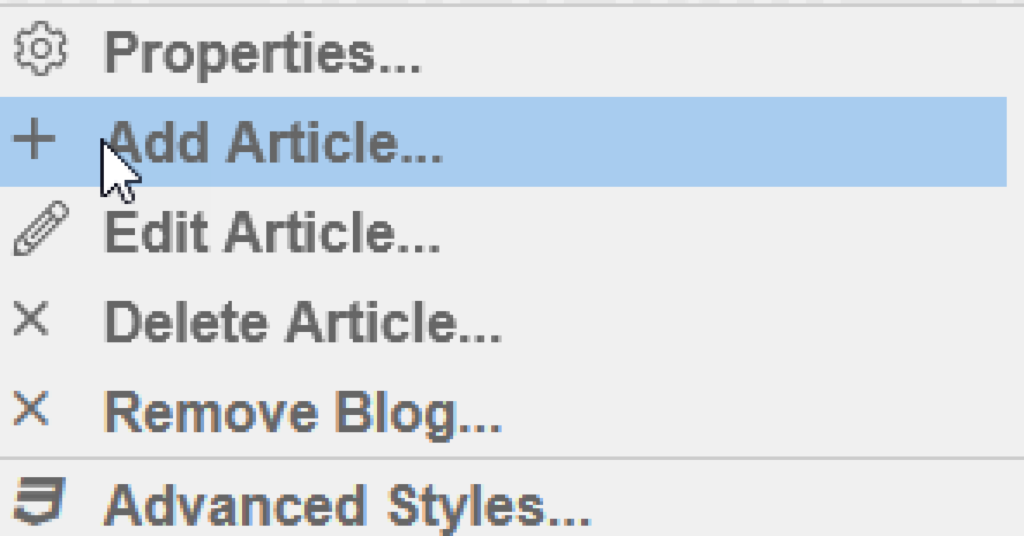
Select Add Article from drop-down menu.
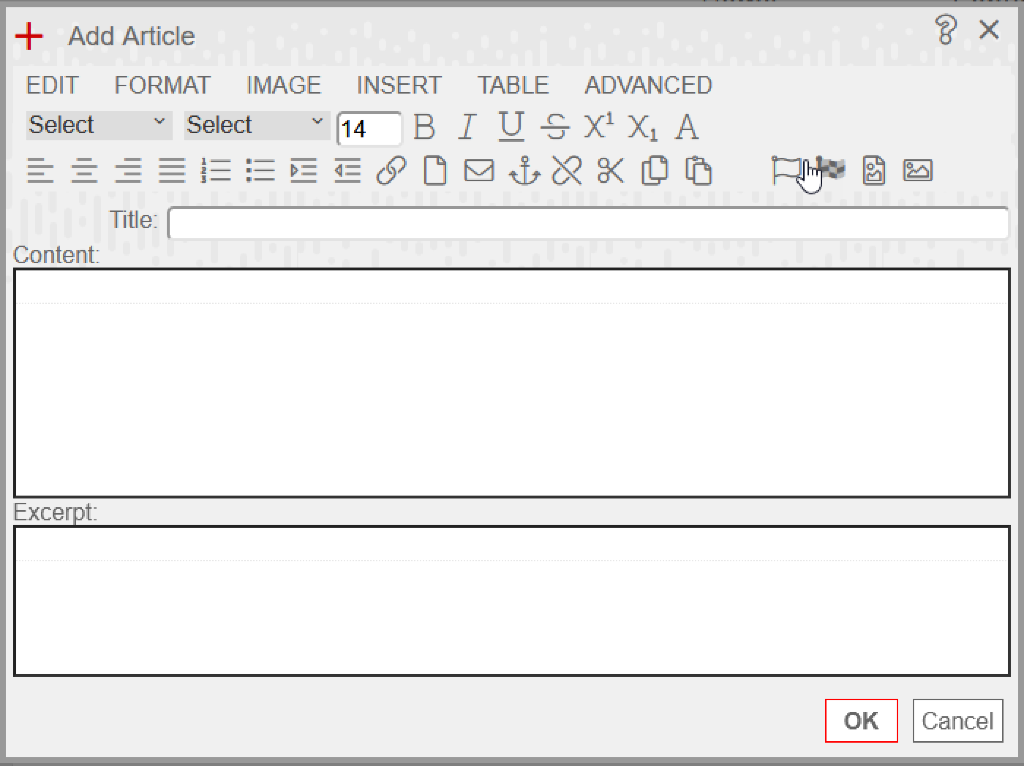
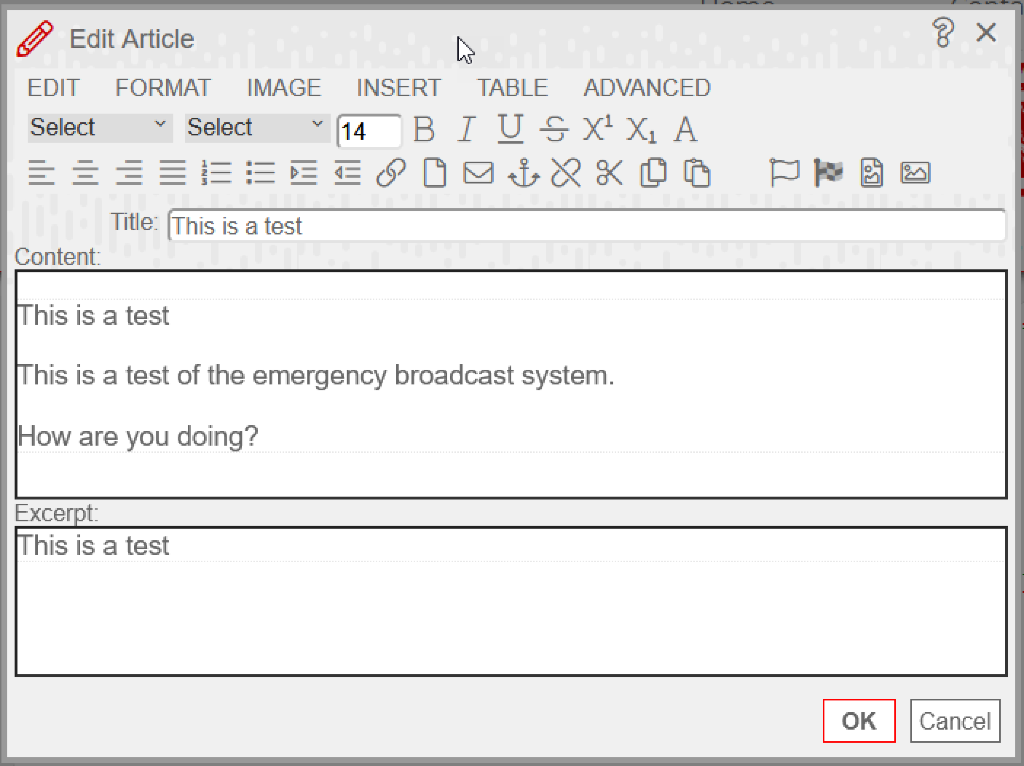
Add Article dialog box will appear.
Title: Enter the Title of Blog Entry. Content: Enter blog’s content. Excerpt: Synopsis of the blog article will be displayed when a person is looking at a News Reader.
Select Ok.
Edit Blog Article
Click on Blog within web site page.
Roll mouse over Blog in the menu bar.
Select Edit Article from drop-down menu.
Edit Article dialog will appear.
Make changes.
Click OK
Delete Blog Article
Click on Blog within web site page.
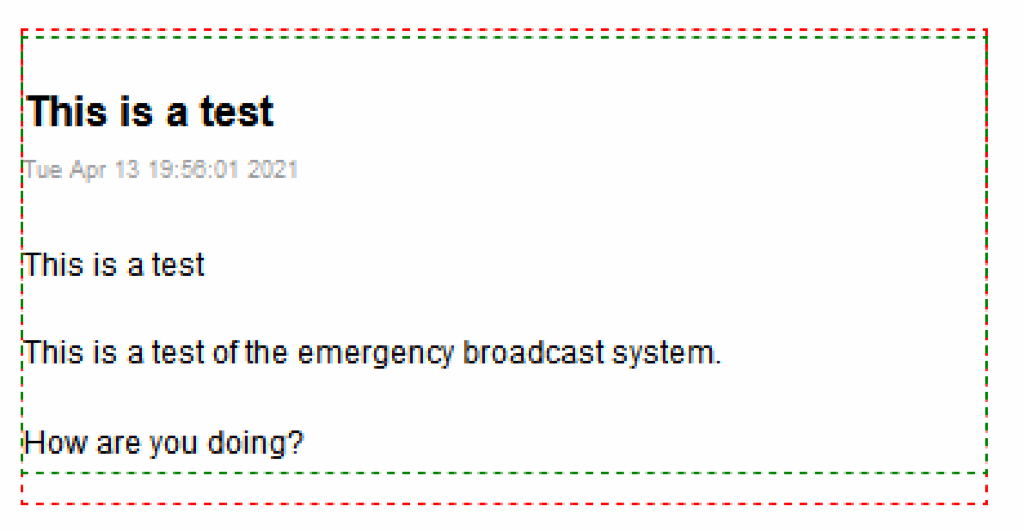
Click on the Blog entry to remove (it will place a green border around blog entry).
Roll over Blog in the menu bar.
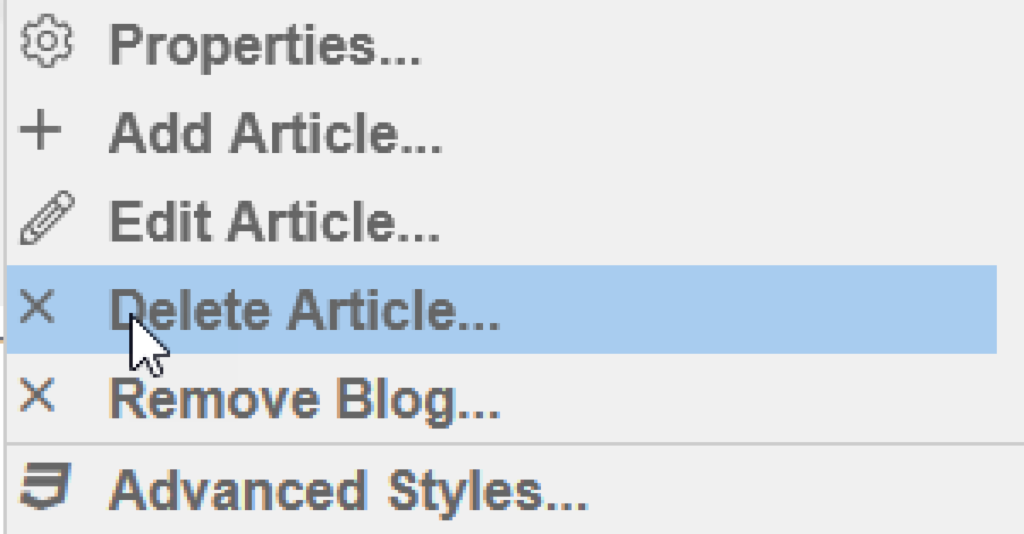
Select Delete Article from the drop down menu.
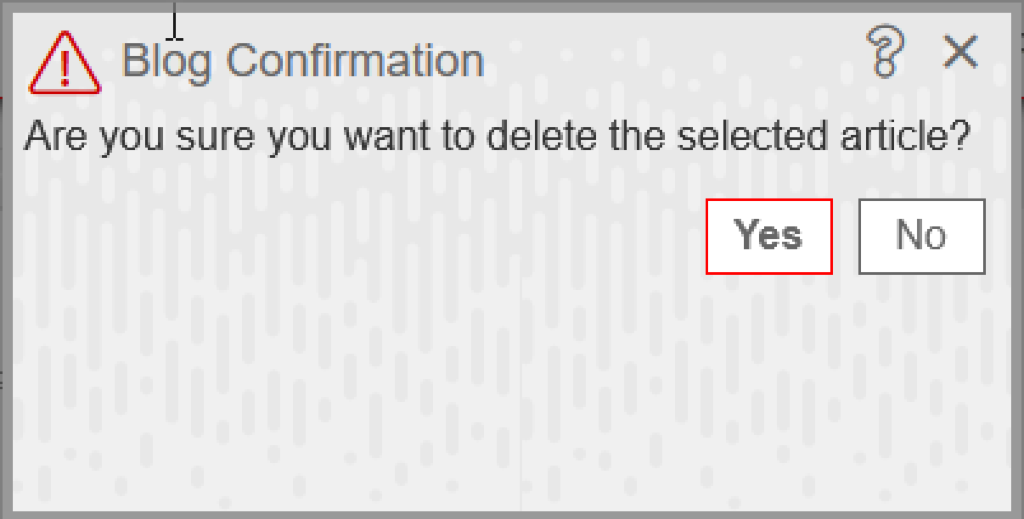
A Blog Confirmation dialog box will appear asking "Are you sure you want to delete the selected article?"
Click "Yes" if you still want to delete the article. If not, Click "No".
Remove Blog Application
Click on the Blog within the web site page.
Roll mouse over Blog in the menu bar.
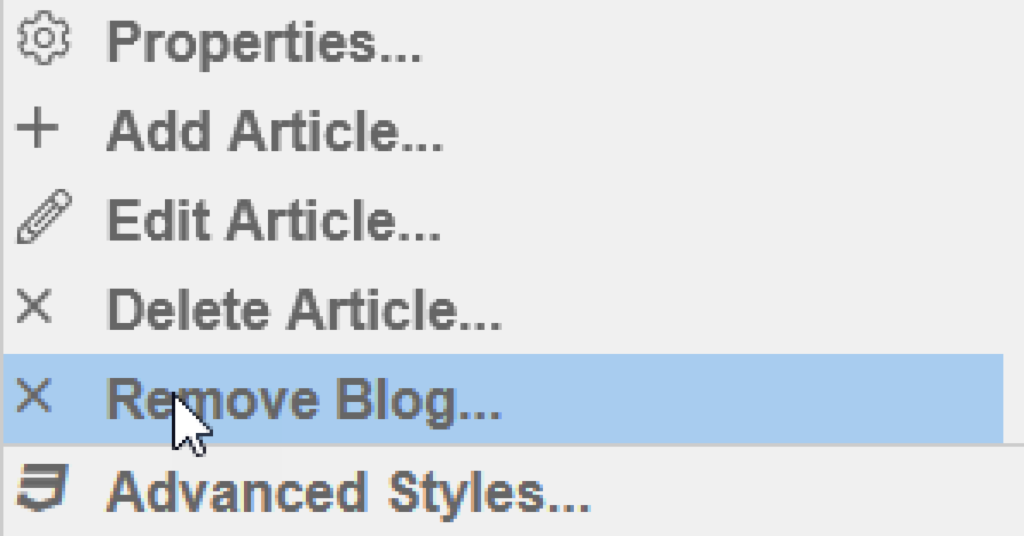
Select Remove Blog.
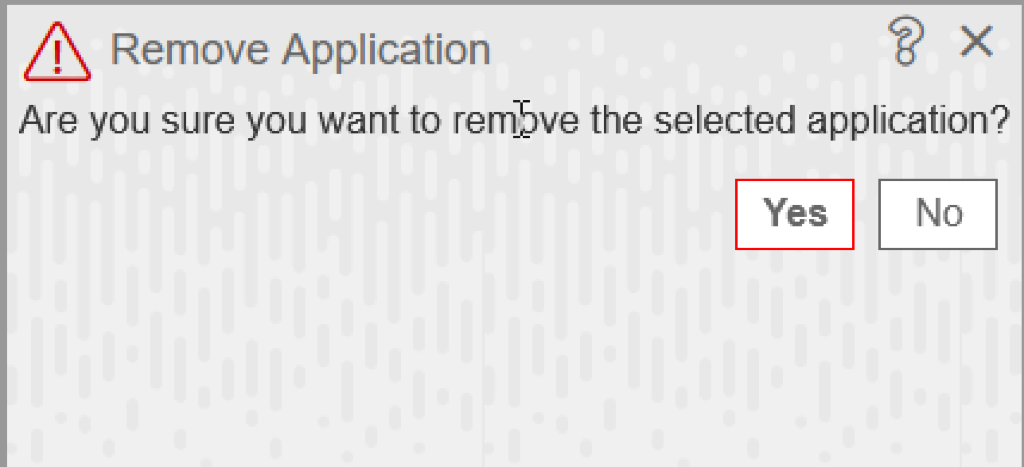
A Remove Application confirmation dialog will appear.
Click on "Yes" to remove the application. Click no to stop remove application operation.
Modify Advanced Styles
TBD
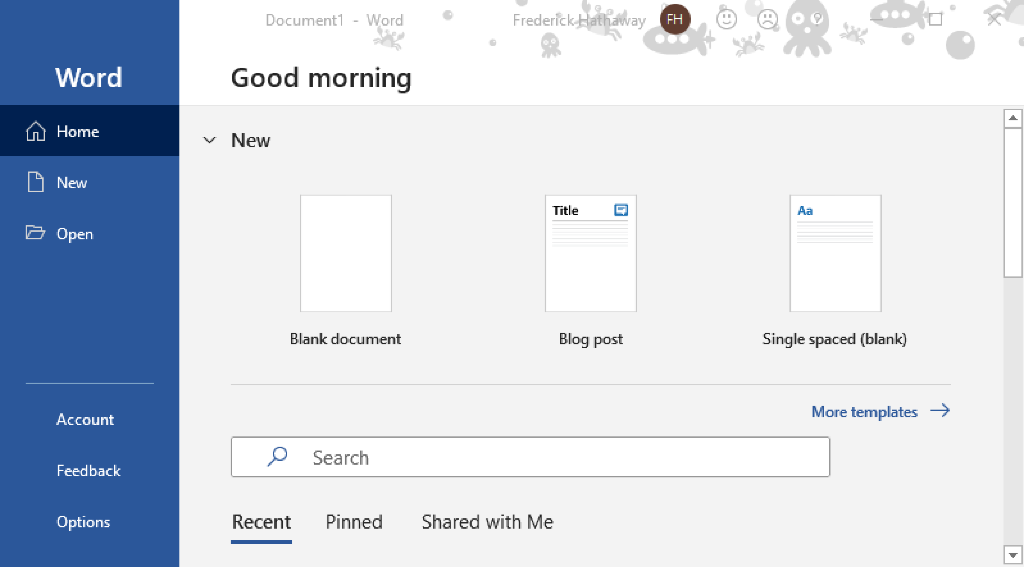
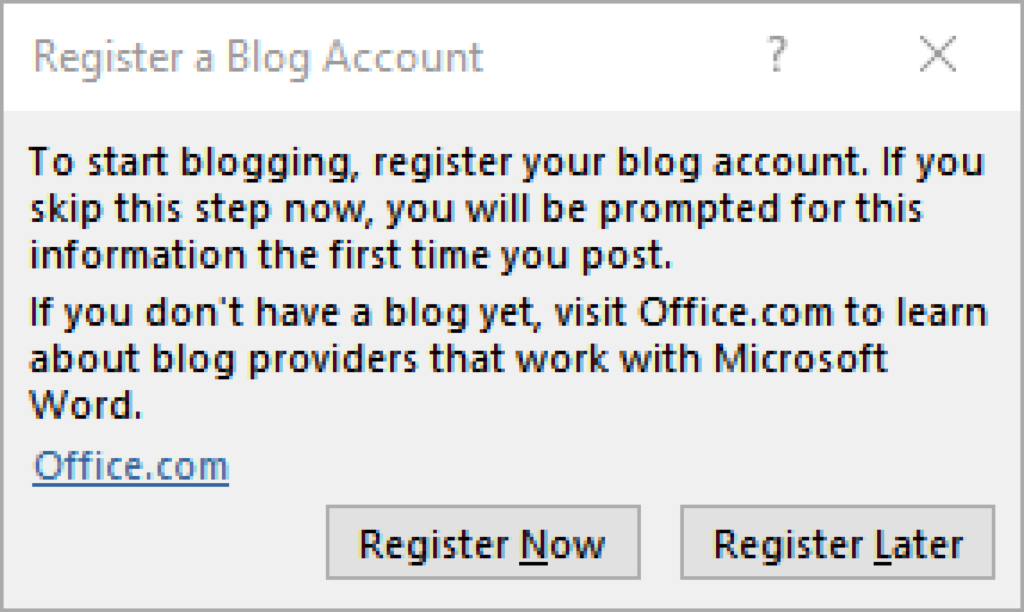
Publish Blog with Microsoft Word (assuming 2021 version of Microsoft 365)
You can use Microsoft Word to write Blog Articles. Before you begin the process, you must complete the following steps. Even though this article is written specifically for a certain version of Word, the operation is similar in other versions of word.
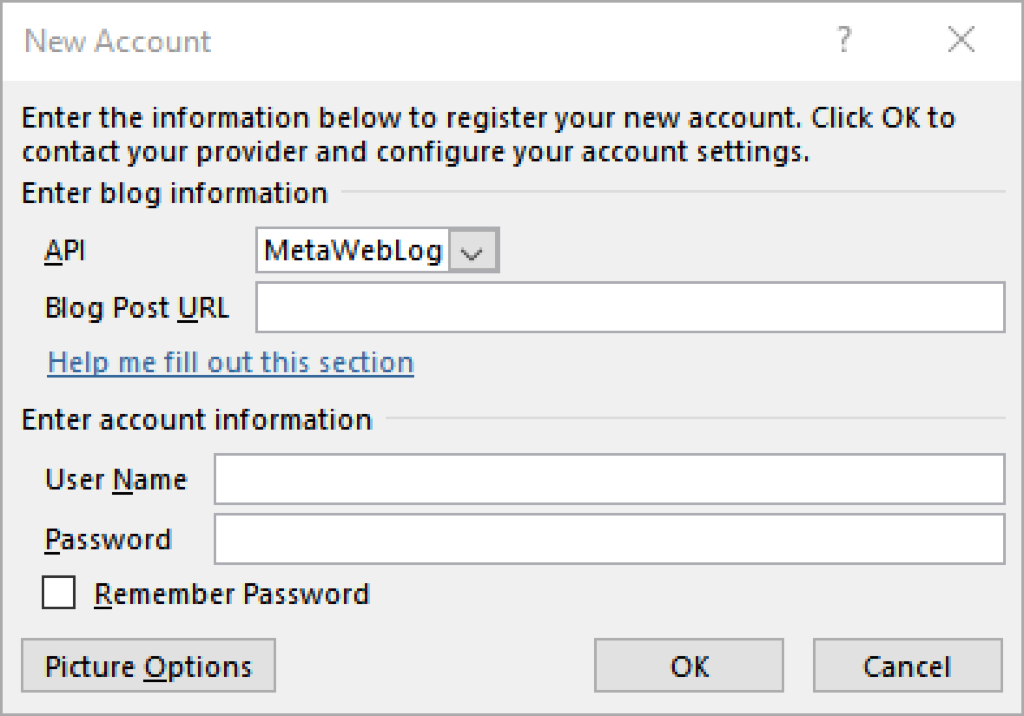
Blog Post URL: This is the URL for your web site followed by /helpers/blog.php. For instance, if your web site URL is https://www.domain.com the Blog Post URL would be https://www.domain.com/helpers/blog.php.
User Name: This is the username you configured in the Authentication Manager for the realm the blog is using.
Password: This is the password you configured in the Authentication Manager for the realm the blog is using.
Rember Password: Be sure to check this for easy use.
Click OK
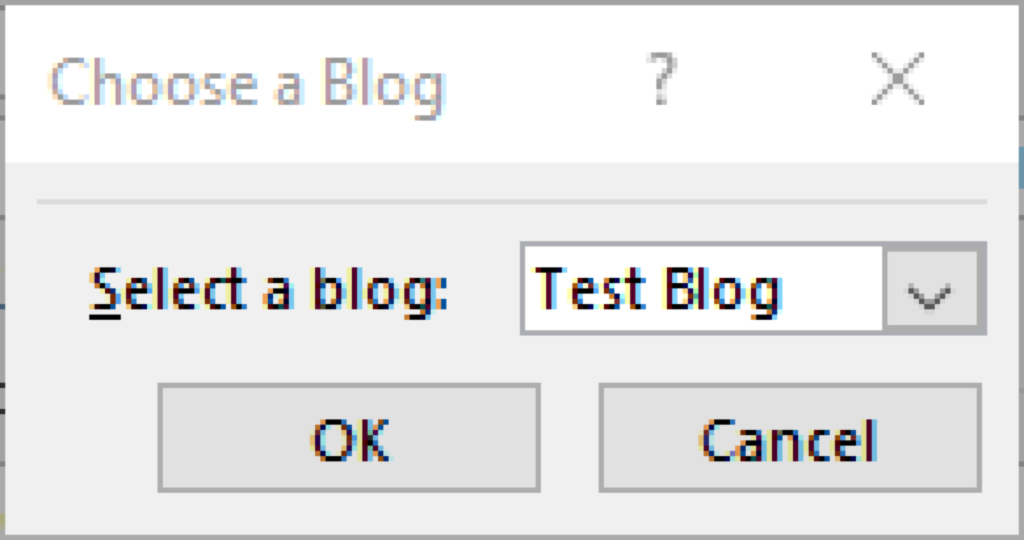
If your site has more than one Blog application, a Choose a Blog dialog will appear. If your site only has one blog application, this dialog will not appear.
Select the name of the blog you want to post to from the dropdown.
If you entered all the correct information you will see the following dialog box.
If you see a failure dialog, check the URL, Username and password to try again.
Press OK.
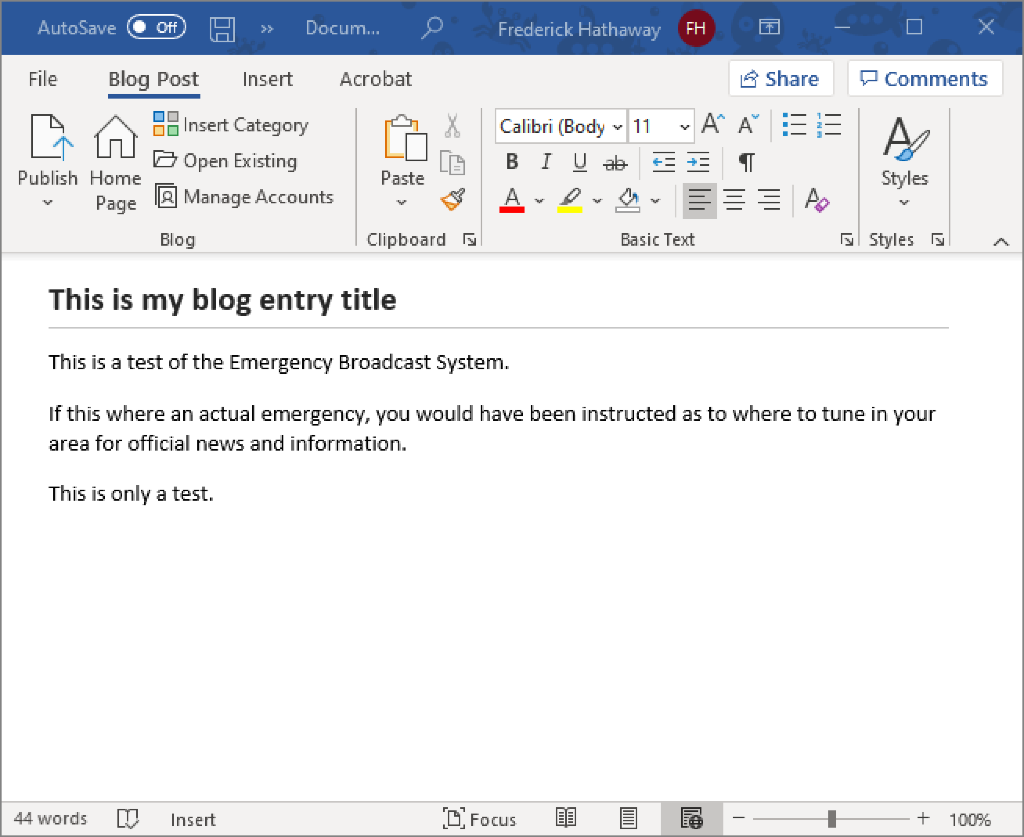
You Word Blog Post will now be open and you can enter content.
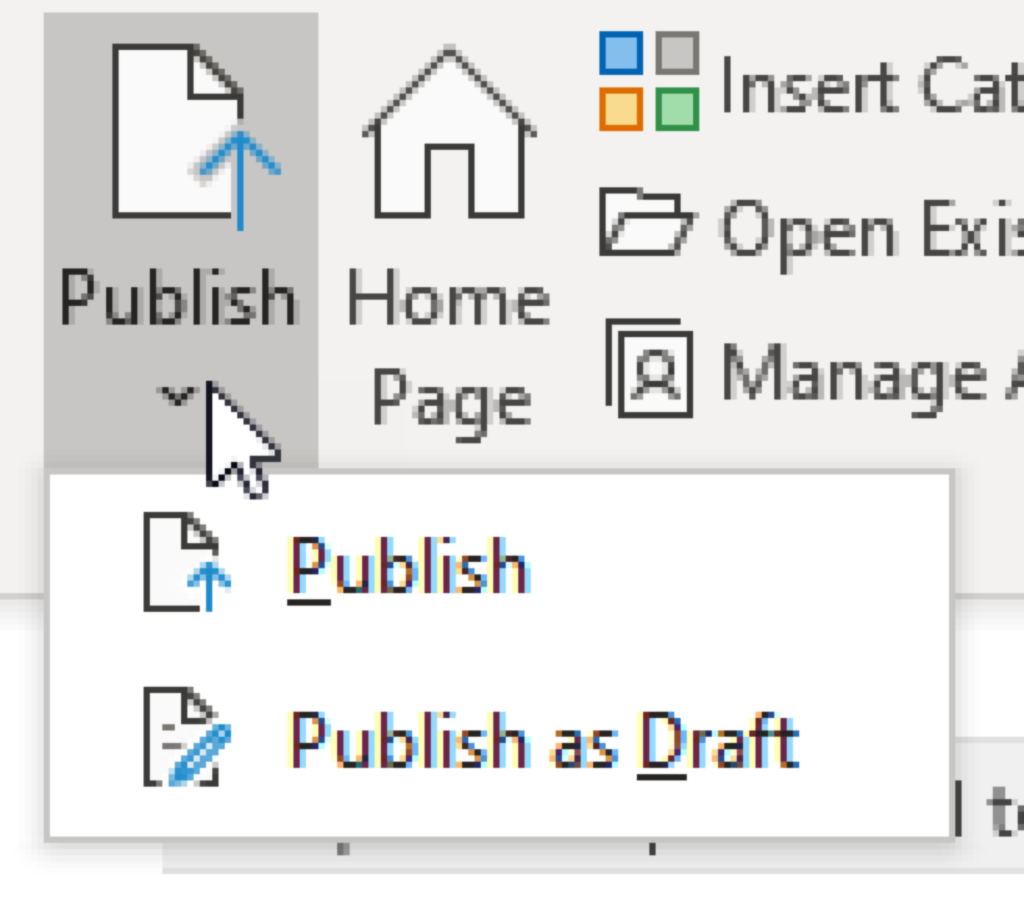
When you are ready to go live with your post, select Publish in the upper left corner of Word.
The post will immediately go live on your web site.
You can save this post like any other word document. If you make changes to the document and publish them, the associated post in the Blog will be updated.
Its recommended that you save the blog file to your local computer before publishing. This is because there have been permission issues when saving after a publish.