Setting up email in the Samsung app on Android
IMAP Email Set-up for Android phones*
The following guide will show you how to set up your email address as an IMAP-account on your Android device.
We've used a Sony device, but you should be able to follow along using others as well.
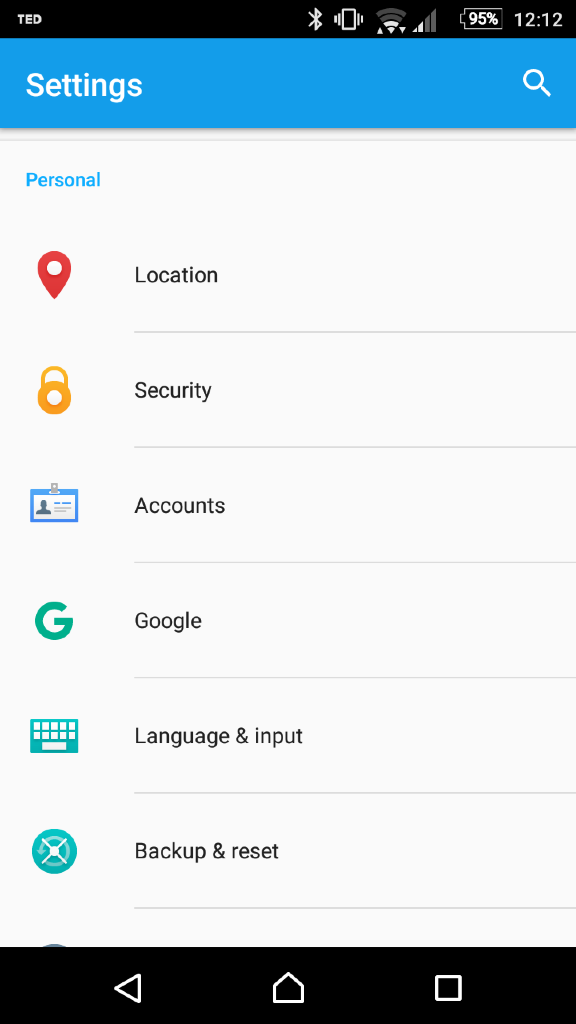
Step 1 - Go to Settings and click Accounts:
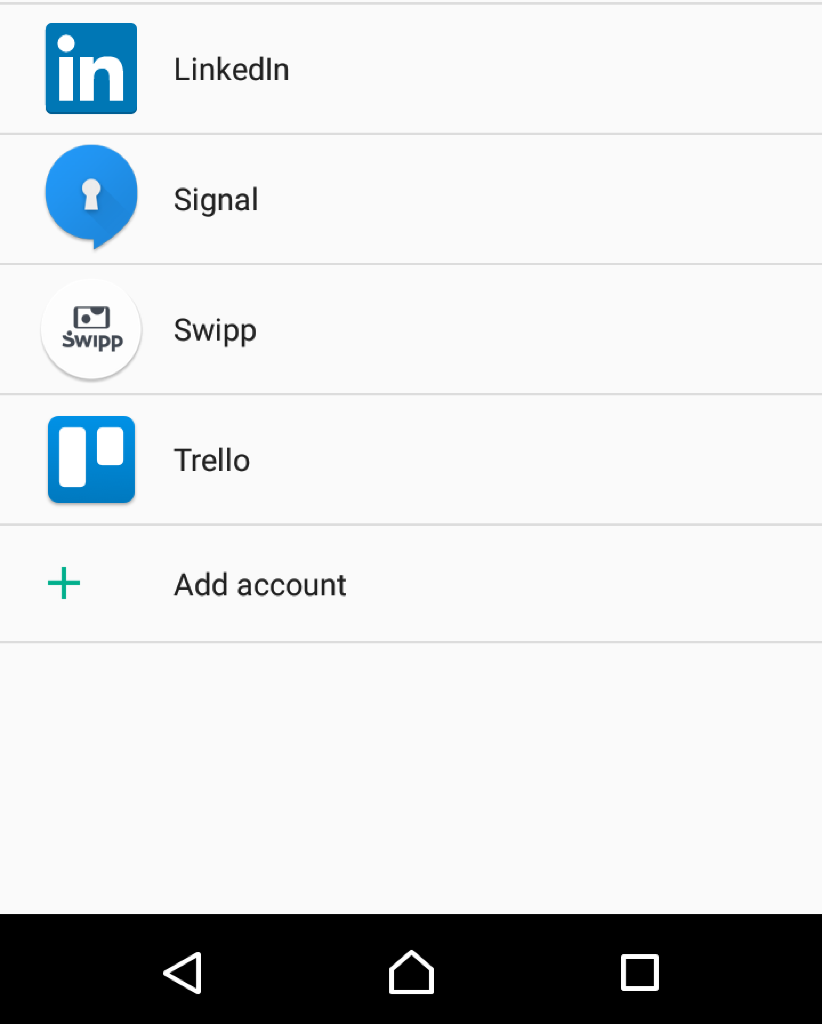
Step 2 - Press Add account
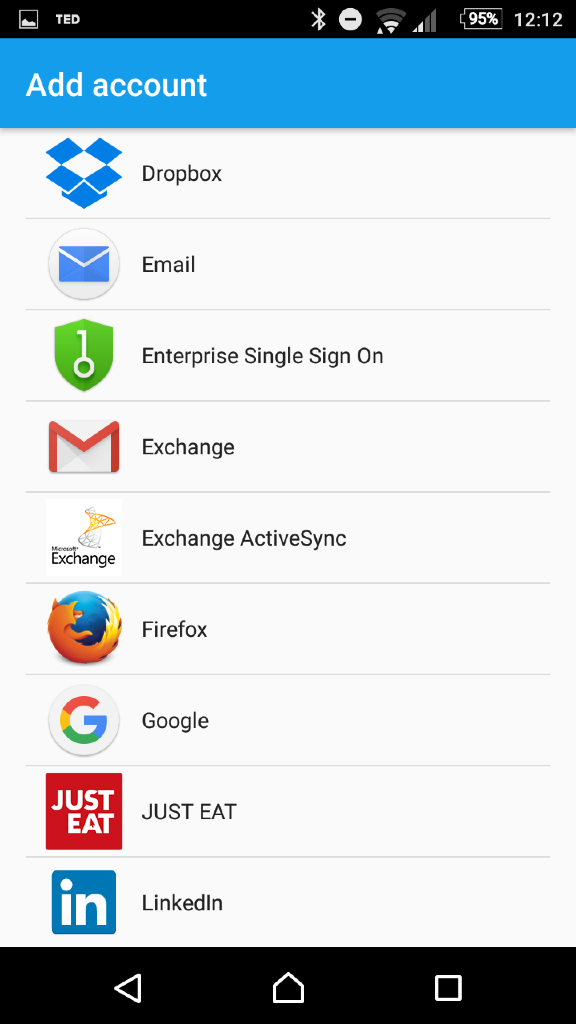
Step 3 - Press Email
Step 4 - Now you'll be asked to configure the basic settings. Firstly enter your email address and press Next:
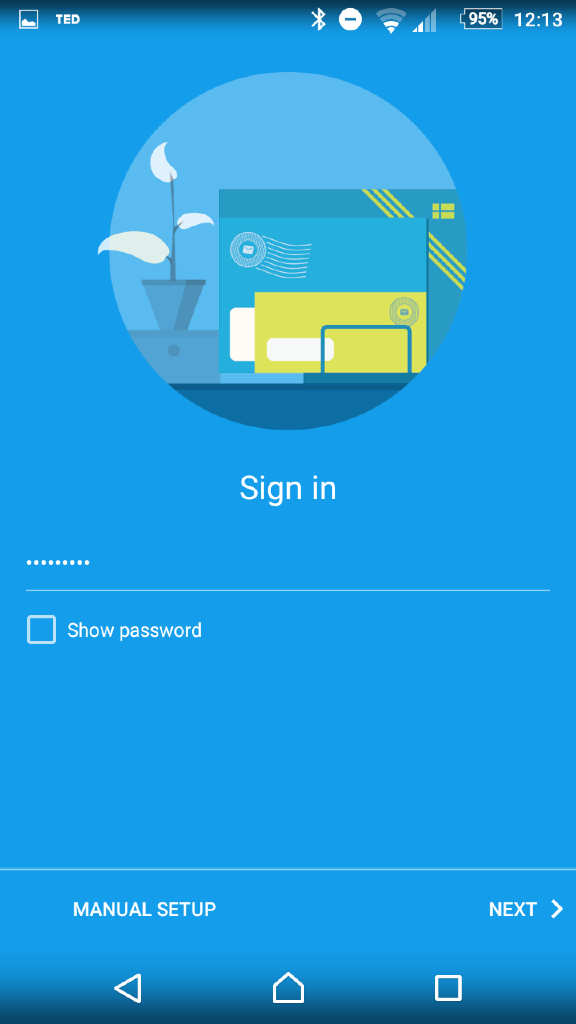
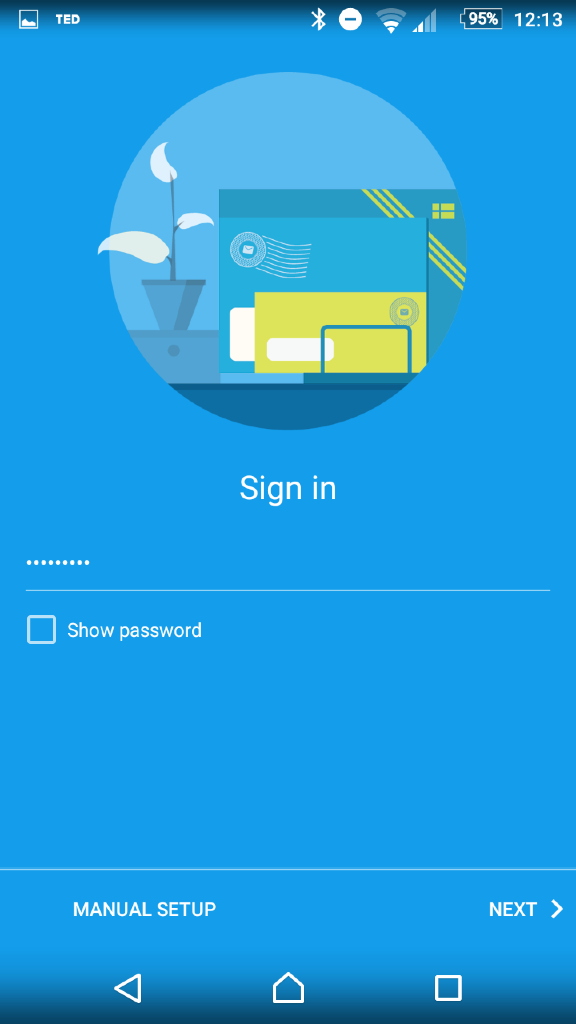
Now enter your password and press Next again:
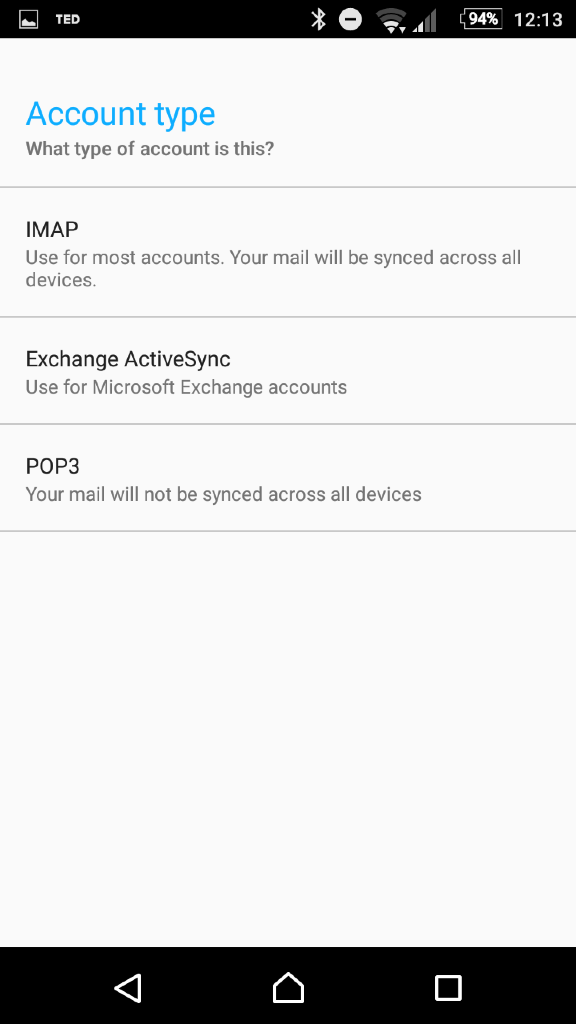
Step 5 - Choose IMAP account when asked
Step 6 - Now you'll be asked to configure the incoming server settings
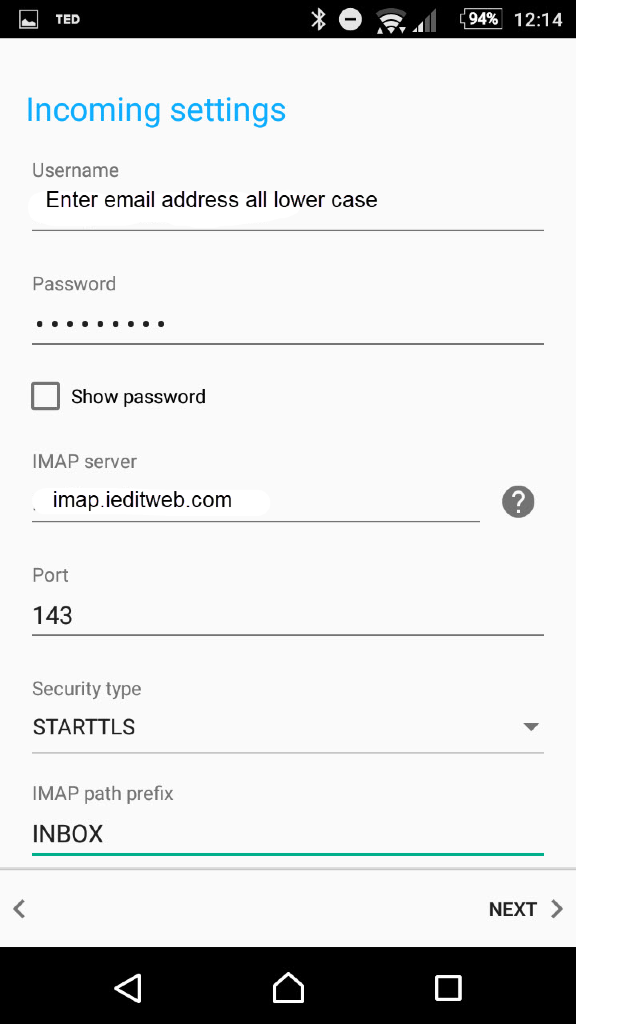
User name: Enter your email address. We've used mail@surftown.email in our example
Password: The email address' password
IMAP-server: imap.ieditweb.com
Security type: STARTTLS
Port: 143
IMAP path prefix: INBOX
Press Next
Step 7 - Now you'll be asked to configure the outgoing server settings
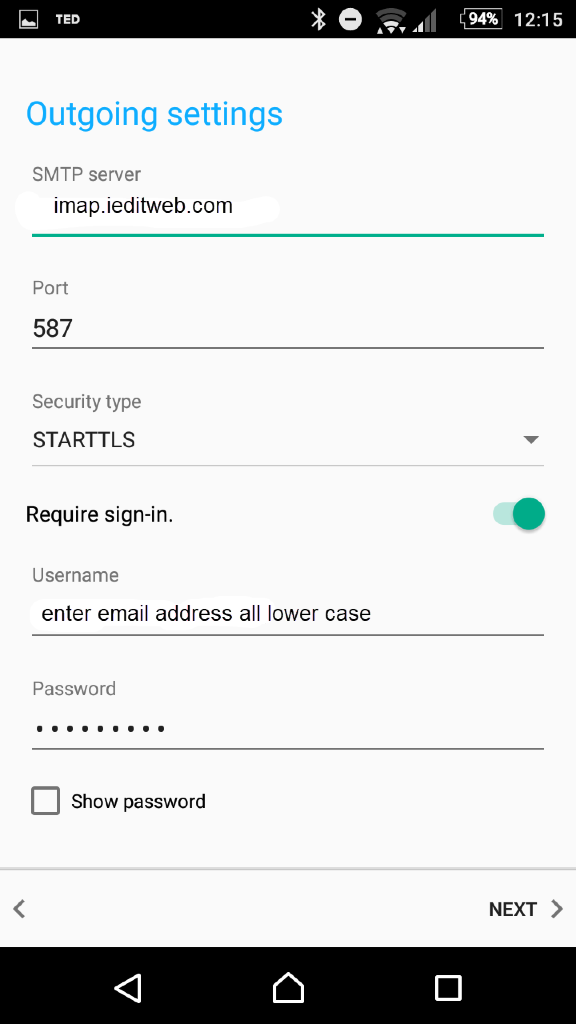
SMTP server: Enter smtp.ieditweb.com
Security type: STARTTLS
Port: Enter 587
Require sign-in: Checked
User name: Enter your email address all lower case
Password: The email address' password case sensitive
Press Next
Step 8 - Now you'll be asked to configure some general account settings. Most of these you can change to your liking, but we recommend to check the Automatically (Push) option
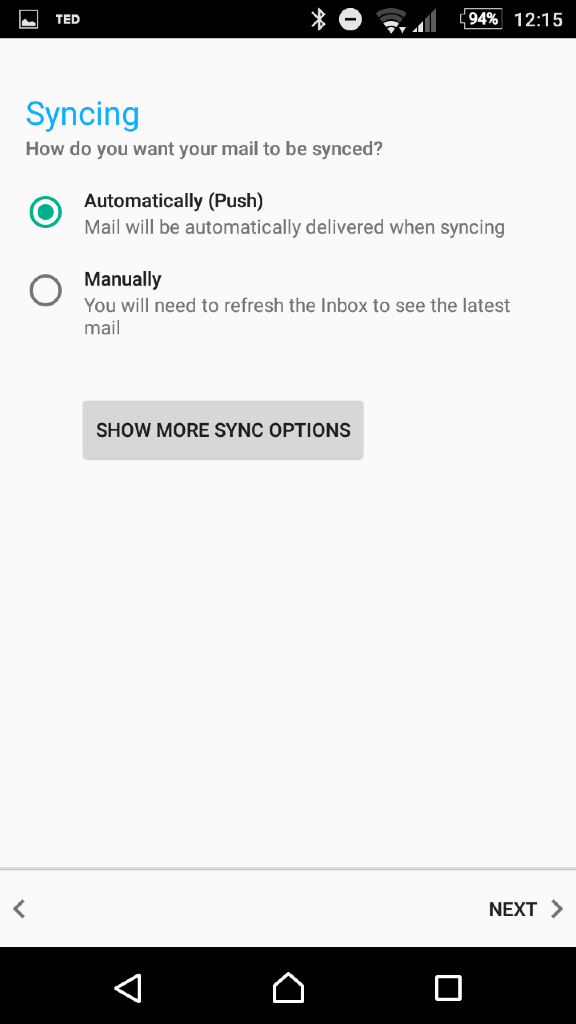
Press Next
Step 9 - Now you'll be asked to name the account, and choose which name should be displayed as the sender. These settings have no impact on the functionality, so you can change these to your liking
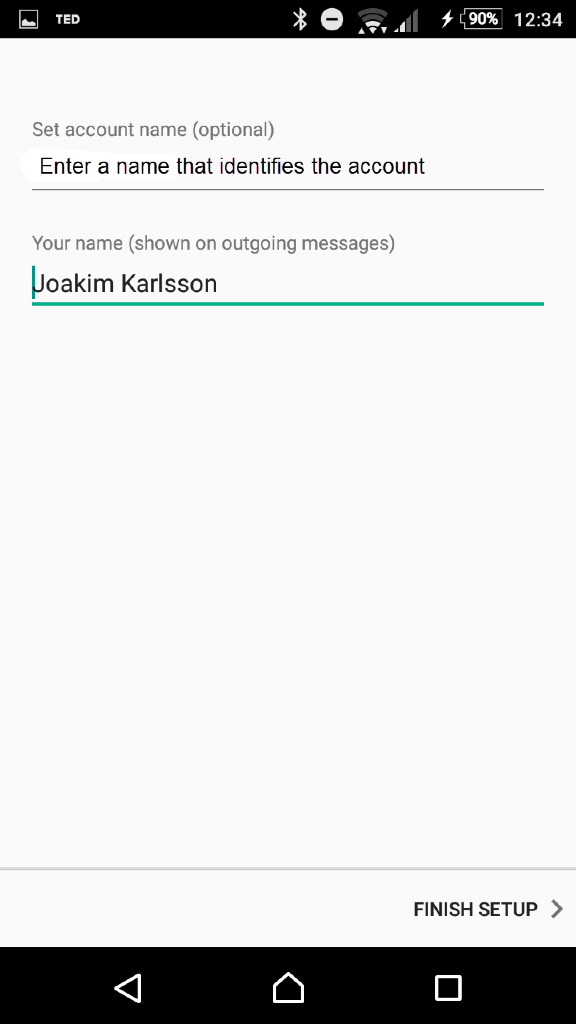
And that's it, so you should be able to send and receive emails on your Android device.
POP Email Set-up for Android phones
The following guide will show you how to set up your email address as an POP-account on your Android device.
We've used a Sony device, but you should be able to follow along using others as well.
Step 1 - Go to Settings and click Accounts:

Step 2 - Press Add account

Step 3 - Press Email

Step 4 - Now you'll be asked to configure the basic settings. Firstly enter your email address and press Next:

Now enter your password and press Next again:

Step 5 - Choose POP3 account when asked

Step 6 - Now you'll be asked to configure the incoming server settings
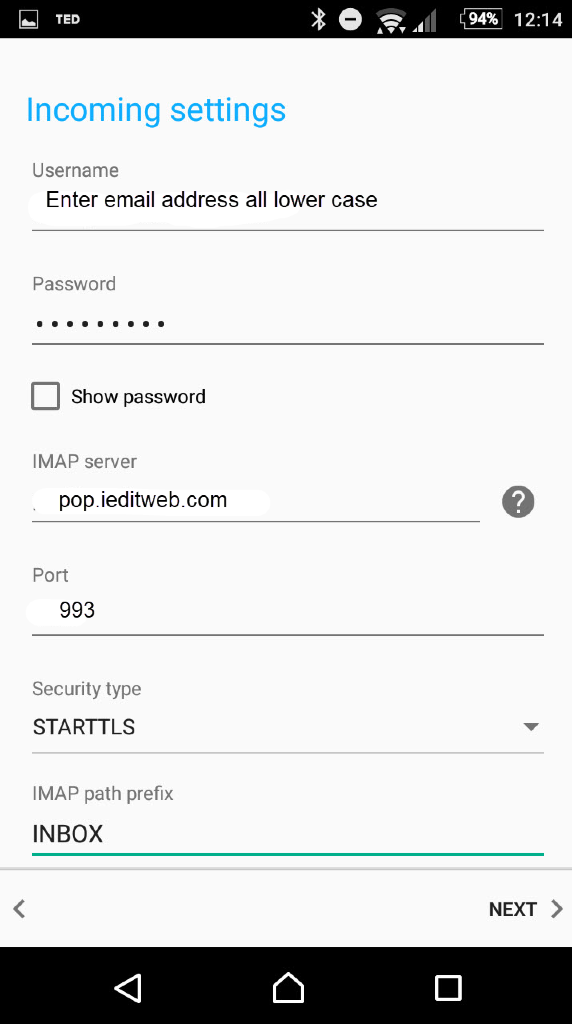
User name: Enter your email address. We've used mail@surftown.email in our example
Password: The email address' password
POP-server: pop.ieditweb.com
Security type: STARTTLS
Port: 993
POP path prefix: INBOX
Press Next
Step 7 - Now you'll be asked to configure the outgoing server settings
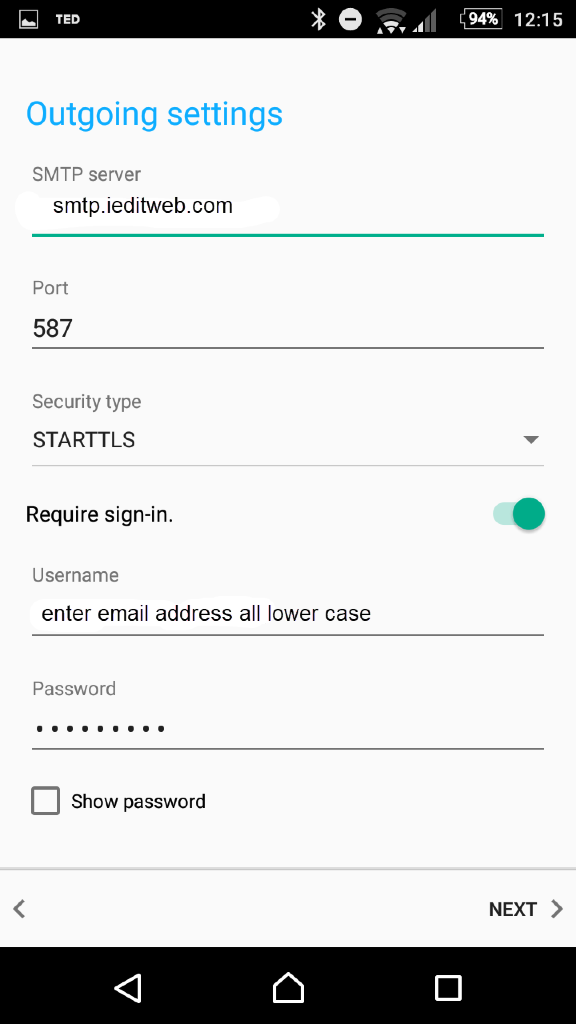
SMTP server: Enter smtp.ieditweb.com
Security type: STARTTLS
Port: Enter 587
Require sign-in: Checked
User name: Enter your email address all lower case
Password: The email address' password case sensitive
Press Next
Step 8 - Now you'll be asked to configure some general account settings. Most of these you can change to your liking, but we recommend to check the Automatically (Push) option

Press Next
Step 9 - Now you'll be asked to name the account, and choose which name should be displayed as the sender. These settings have no impact on the functionality, so you can change these to your liking
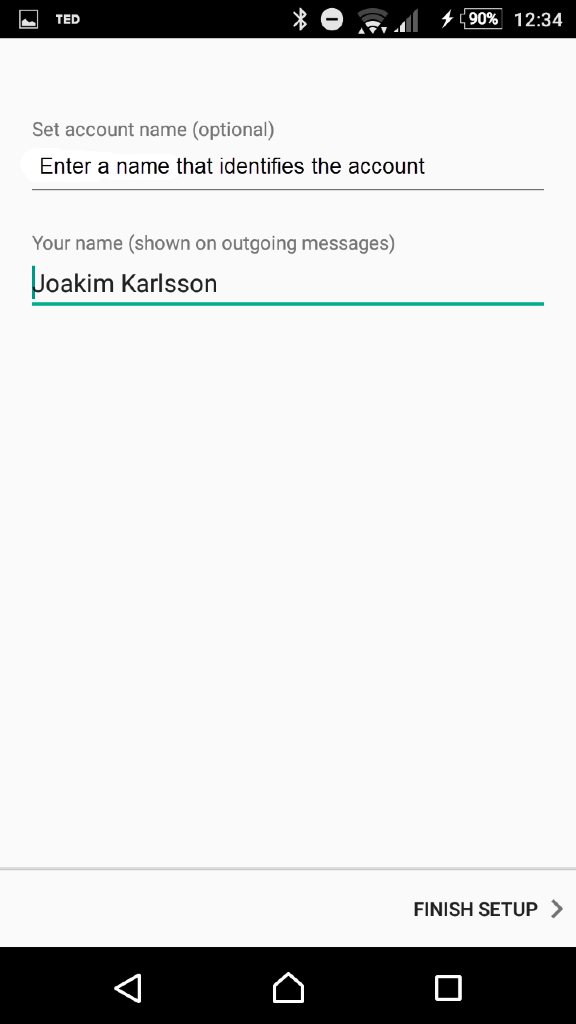
And that's it, so you should be able to send and receive emails on your Android device.
Related Articles:
Email Service Ports
Email Setup FAQ
*NOTE: iEditWeb stores email messages for 60 days on our server. On the 61st day we will remove email messages from your InBox, Trash and Spam.
- If you are using IMAP protocol, please create folder(s) to move email messages you wish to keep until YOU remove them.
- If you are using POP protocol, any email messages you have downloaded in an email client, Outlook, Thunderbird, etc., we remain in your email client till you remove it regardless of which folder the email is placed.